

Why Growing Businesses Need an Integrated Finance Department
May 26, 2026
QuickBooks Setup Checklist for New Companies
June 11, 2026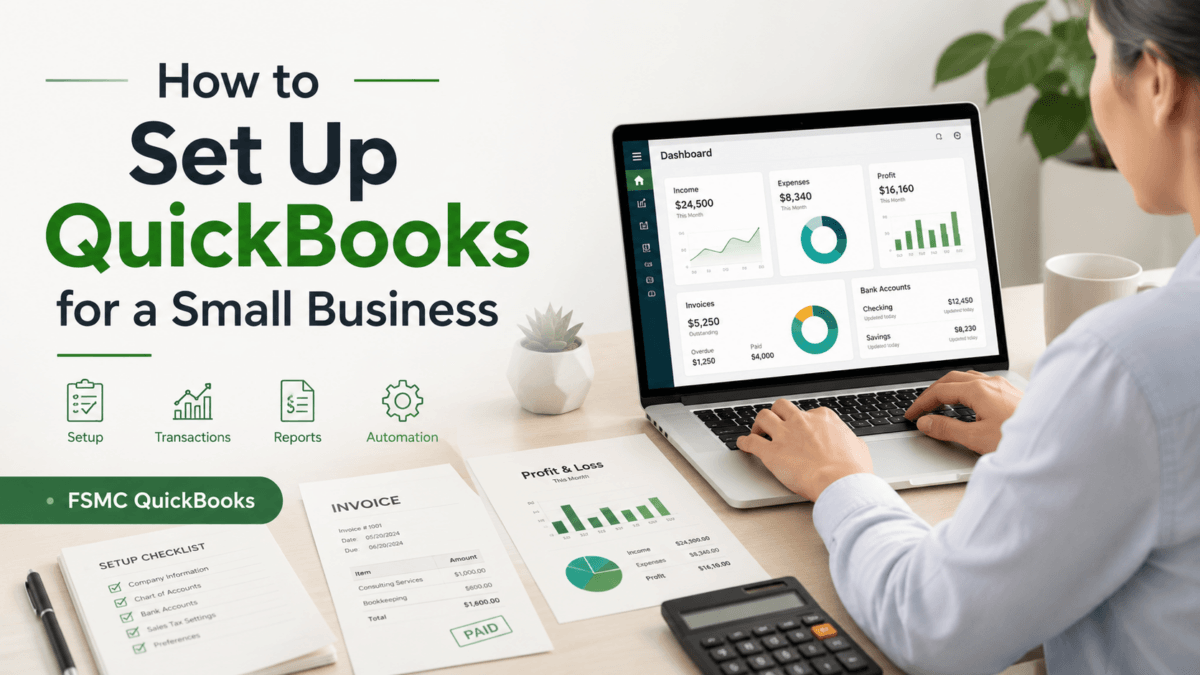
How to Set Up QuickBooks for a Small Business
Compliments of FSMC Bookkeeping Services
Setting up QuickBooks for your small business can be a game-changer when it comes to managing your finances. With the right tools, you can save time, reduce errors, and make informed decisions that can fuel your company’s growth. In this guide, we’ll break down the process step-by-step to help you get started with QuickBooks effectively.
Step 1: Choose the Right Version of QuickBooks
First, determine which QuickBooks version best suits your business needs. QuickBooks offers several options, including QuickBooks Online, QuickBooks Desktop, and QuickBooks Self-Employed. Consider factors such as your budget, size of the business, and specific features you might need, like invoicing, tracking expenses, or payroll management.
Step 2: Create Your Company File
Once you’ve selected your version, it’s time to create your company file. Open QuickBooks and follow these steps:
- Select “Create a new company.”
- Choose “EasyStep Interview” for a guided setup process.
- Enter your business details, including name, address, and contact information.
- Set your preferred preferences for sales tax, currency, and fiscal year.
Step 3: Set Up Your Chart of Accounts
The Chart of Accounts lists all your accounts to track income, expenses, assets, and liabilities. It’s crucial for accurate bookkeeping. You can set it up by:
- Navigating to the “Chart of Accounts” option in QuickBooks.
- Adding new accounts using categories that align with your business operations.
- Ensuring your accounts provide clear insights into your business’s financial status.
Step 4: Customize Your Settings
QuickBooks allows you to customize settings according to your business needs:
- Set up payment methods and bank accounts.
- Customize invoice templates to reflect your branding.
- Set user roles if you have a team that will be accessing the software.
Step 5: Integrate Necessary Apps
Depending on your business operations, you may want to integrate other applications with QuickBooks. This could include:
- Payment processors like PayPal or Stripe.
- Inventory management systems.
- Customer relationship management (CRM) tools.
Step 6: Import Your Data
If you have existing financial data from another system, importing it into QuickBooks is straightforward. Follow the instructions provided in QuickBooks for importing spreadsheets to ensure all your data is captured correctly.
Step 7: Get Familiar with Reports
Once everything is set up, take some time to explore the reporting features in QuickBooks. Monitoring financial reports will help you understand your business performance better. Important reports to review include:
- Profit and Loss Statement.
- Balance Sheet.
- Cash Flow Statement.
FAQ
What is QuickBooks Online?
QuickBooks Online is a subscription-based version of QuickBooks that allows you to manage your finances from any device with internet access.
Related QuickBooks Guides
If you are setting up QuickBooks for the first time, these related guides can help you avoid common setup and bookkeeping problems:
- QuickBooks Setup Checklist for New Companies
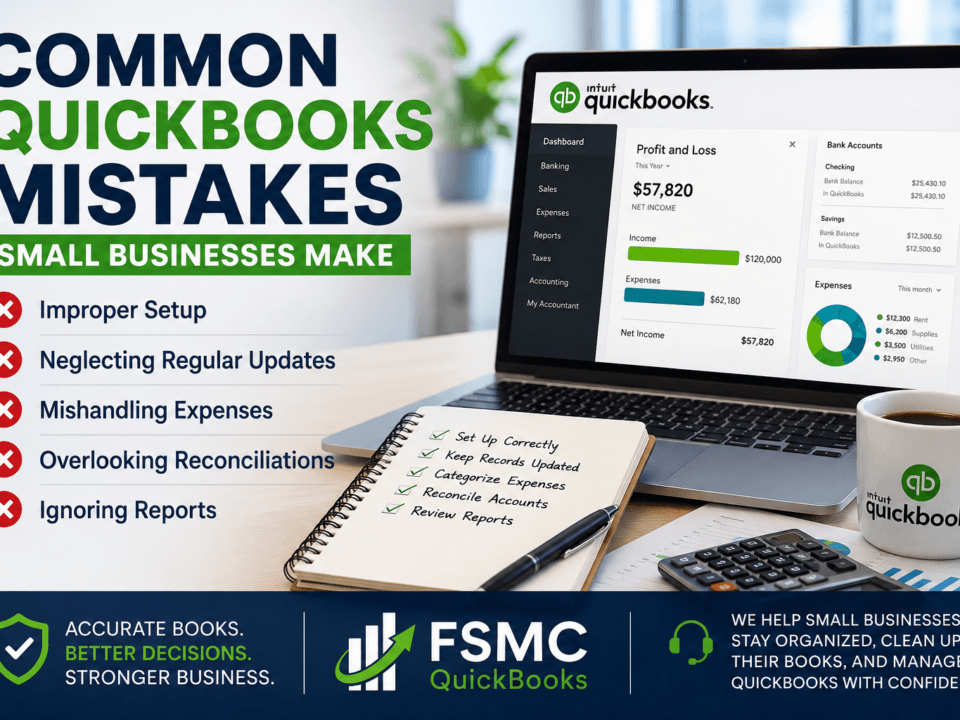
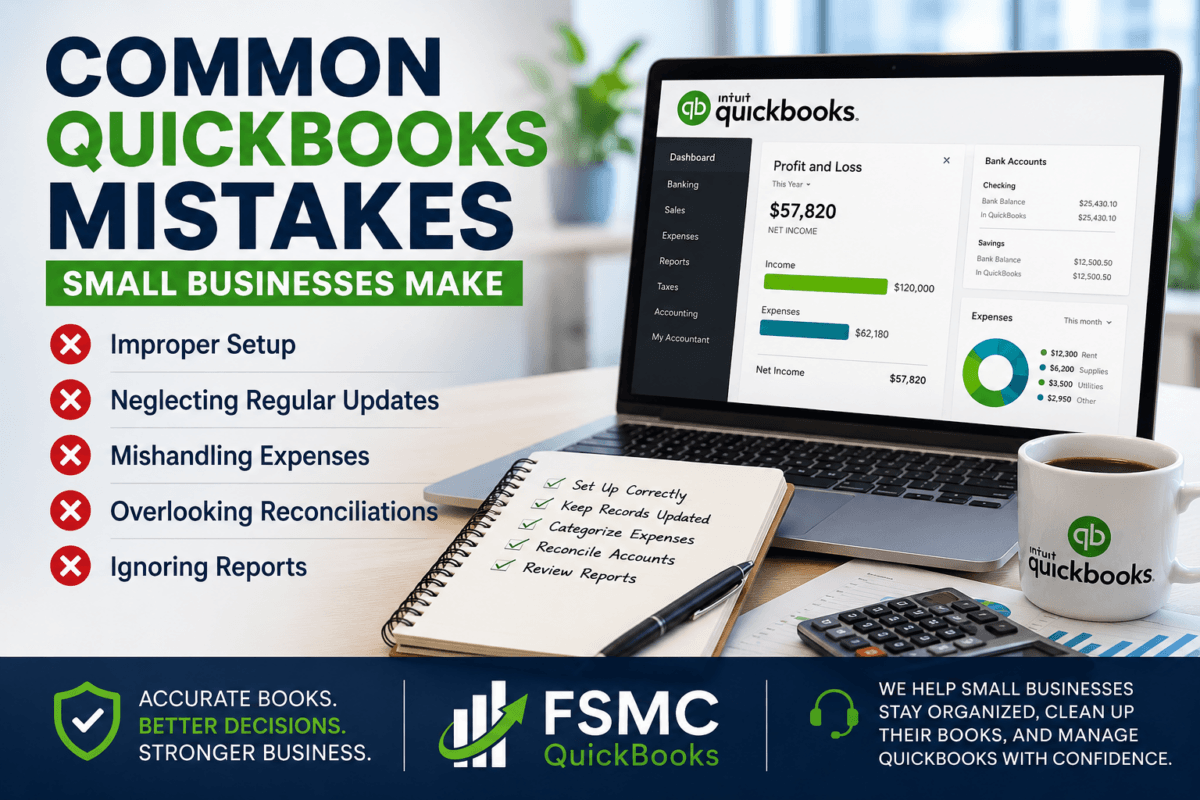
- Common QuickBooks Mistakes Small Businesses Make
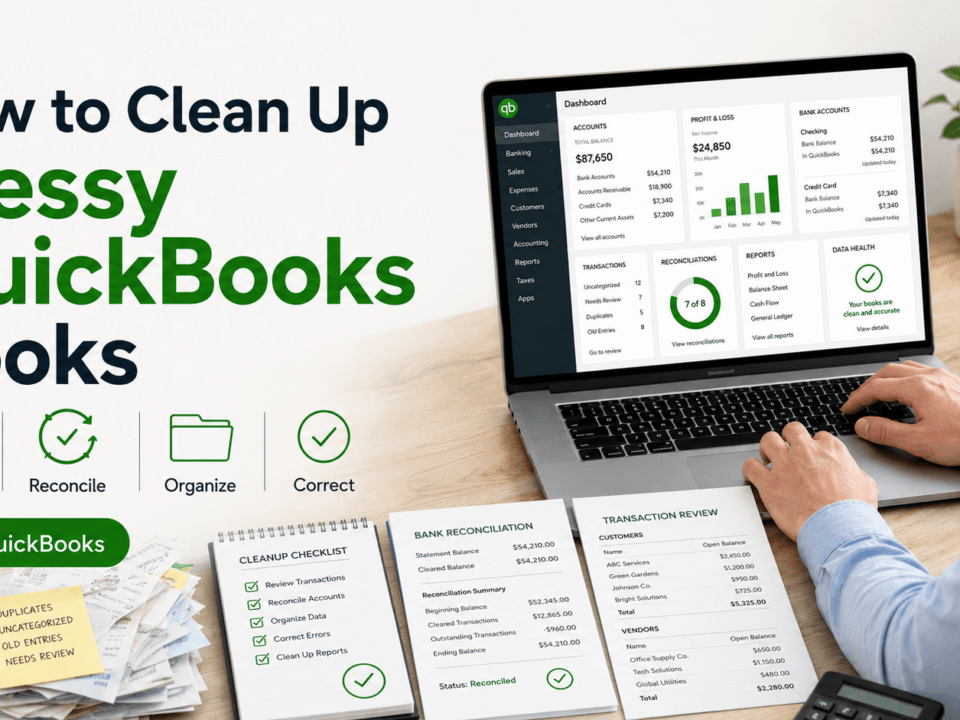
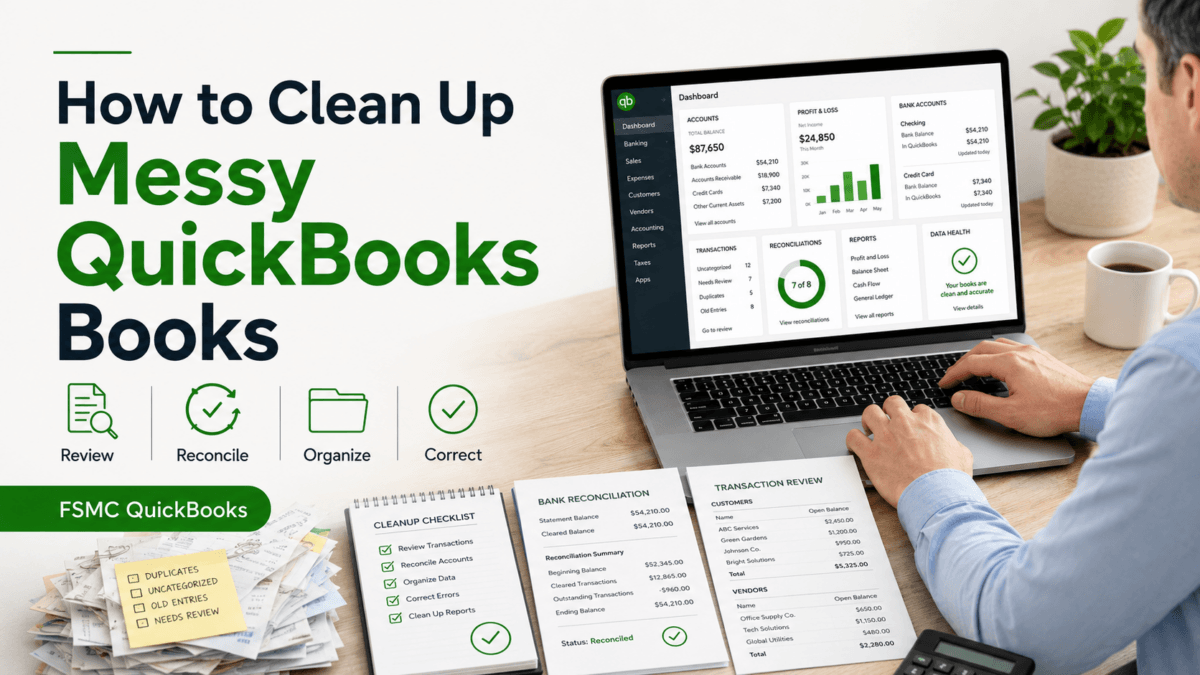
- How to Clean Up Messy QuickBooks Books
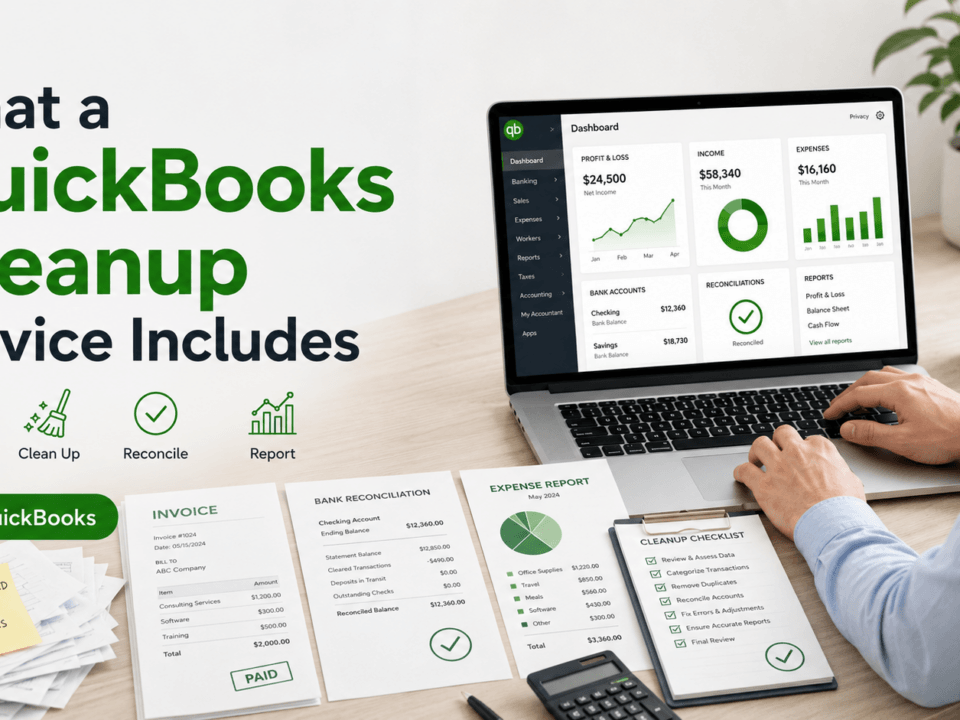
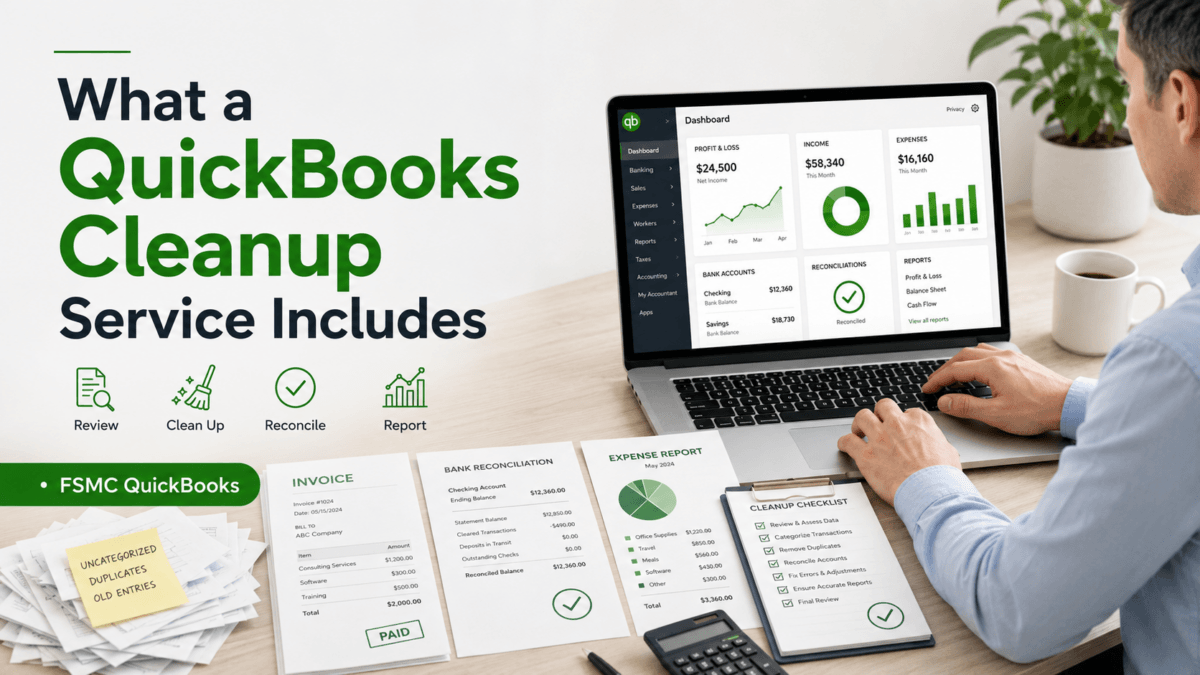
- What a QuickBooks Cleanup Service Includes
Do I need accounting knowledge to use QuickBooks?
While basic accounting knowledge can help, QuickBooks is designed to be user-friendly, and many features guide you through the process of managing your business finances.
Can multiple users access QuickBooks?
Yes, QuickBooks allows you to set up multiple users with specific roles and permissions, making it easy for your team to access the information they need.
Setting up QuickBooks might seem daunting, but following these steps will help you get organized and on track. At FSMC QuickBooks, we specialize in helping small businesses stay organized, clean up their books, and manage QuickBooks with confidence. Ready to take control of your financial future? Contact us today to get started!